VanVoorhis
This lesson explores the design of a robot arm. Students design and build a working robotic arm from a set of everyday items with a goal of having the arm be able to pick up a cup. Students work in teams of “engineers” to design and build their own robot arm out of everyday items.
- Learn design concepts.
- Learn teamwork.
- Learn problem solving techniques.
- Learn about simple machines.
Age Levels: 8 – 18
Lesson Plan Presentation
Materials & Preparation
Build Materials (For each team)
Required Materials
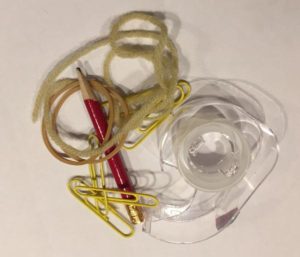
- Cardboard strips
- Cup (for testing) – may want to test multiple types of cups – plastic, styrofoam or paper or just test one.
Alternative Materials

VanVoorhis
- Binder clips
- Paper clips
- Brass fasteners
- Rubber bands
- Clothespins
- Popsicle sticks
- Wire
- Fishing Line
- String
- Tape
- Paper
- Short/Golf pencils
Testing Materials & Process
Materials
- Cup (included in team materials)
Alternative Testing Materials
- Try some Items with more weight (i.e., water bottle or add items to the empty cup) to have the teams test lifting an item heavier than the cup.
Process
Teams test their designs by lifting the cup to a height of at least 6” from a surface (table, floor, etc.)
Real World Applications
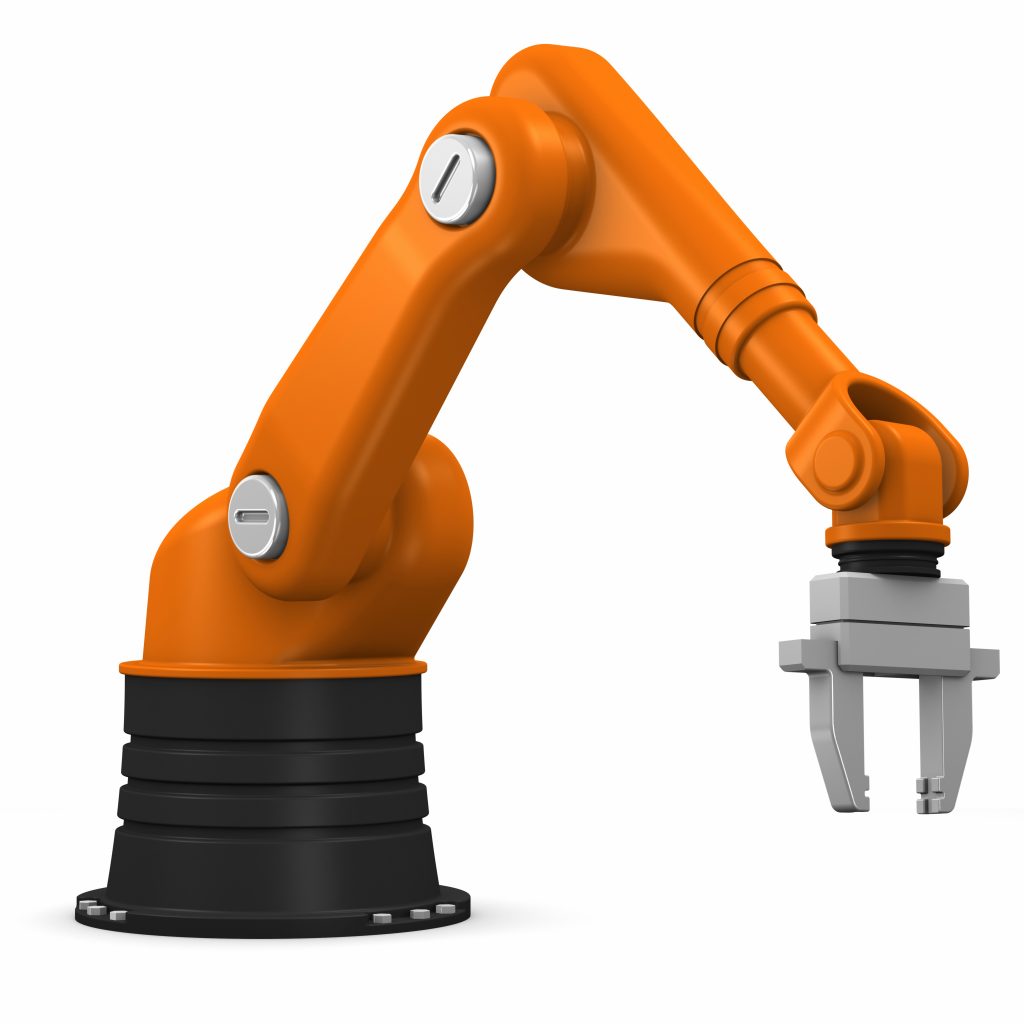
Robots that work in a manufacturing setting are known as “industrial robots.” Industrial robots perform tasks such as sorting, welding, painting, product assembly, packaging, labeling, and quality inspection. Visit IEEE’s Robots website and check out some videos of Unimate the first industrial robot ever built.
Titan: Strongest Robot Arm in the World
Engineering Design Challenge
Design Challenge
You are a team of engineers all working together, using the engineering design process, to design a robot arm that meets the challenge’s criteria and constraints.
Criteria
- Arm length: minimum of 18”
- Lift the cup to a height of at least 6” from a surface (table, floor)
Constraints
- Use only the materials provided
- Design a solution in the time provided
Activity Instructions & Procedures
-
Break class into teams of 2-4.
- Hand out the Robot Arm Exercise Questions worksheet, as well as some sheets of paper for sketching designs.
- Review the Engineering Design Process, Design Challenge, Criteria, Constraints and Materials. If time allows, review “Real World Applications” prior to conducting the design challenge.
- Before instructing students to start brainstorming and sketching their designs, ask them to consider the following:
● How can you control the movement of the arm from a distance?
● How might you use the fishing line?
● Consider the strength of the grip on the different types of cups.
● Look at a trash grabber as one possible example. - Provide each team with their materials.
- Explain that students must design a robot arm from everyday items. The robot arm must be a minimum of 18” and lift a cup to a height of at least 6” from a surface (table, floor).
- Announce the amount of time they have to design and build (1 hour recommended).
- Use a timer or an on-line stopwatch (count down feature) to ensure you keep on time. (www.online-stopwatch.com/full-screen-stopwatch). Give students regular “time checks” so they stay on task. If they are struggling, ask questions that will lead them to a solution quicker.
- Students meet and develop a plan for their robot arm. They agree on materials they will need, write/draw their plan, and present their plan to the class. Teams may trade unlimited materials with other teams to develop their ideal parts list.
- Teams build their designs.
- Test the robot arm designs and record the height each design was able to successfully lift the cup.
- As a class, discuss the student reflection questions.
- For more content on the topic, see the “Real World Applications” and “Digging Deeper” sections.
Student Reflection (engineering notebook)
- Did you use all the materials provided to you? Why, or why not?
- Which item was most critical to your robot arm design?
- How did working as a team help in the design process?
- Were there any drawbacks to designing as a team?
- What did you learn from the designs developed by other teams?
- Name three industries that make use of robots in manufacturing:
Time Modification
The lesson can be done in as little as 1 class period for older students. However, to help students from feeling rushed and to ensure student success (especially for younger students), split the lesson into two periods giving students more time to brainstorm, test ideas and finalize their design. Conduct the testing and debrief in the next class period.
-
Engineering Design Process
Vocabulary
- Engineers: Inventors and problem-solvers of the world. Twenty-five major specialties are recognized in engineering (see infographic).
- Engineering Habits of Mind (EHM): Six unique ways that engineers think.
- Engineering Design Process: Process engineers use to solve problems.
- Criteria: Conditions that the design must satisfy like its overall size, etc.
- Constraints: Limitations with material, time, size of team, etc.
- Prototype: A working model of the solution to be tested.
- Iteration: Test & redesign is one iteration. Repeat (multiple iterations).
- Industrial Robot: Performs tasks such as sorting, welding, painting, product assembly, packaging, labeling, and quality inspection.
- Unimate: First industrial robot ever built.
Dig Deeper
Internet Connections
Recommended Reading
- Artificial Intelligence For Dummies (ISBN: 978-1119467656)
- Modern Robotics: Mechanics, Planning, and Control (ISBN: 978-1107156302)
- Robotics: Everything You Need to Know (ISBN: 978-1523731510)
Writing Activity
Write an essay (or paragraph depending on age) about how the invention of robots and robotics has impacted manufacturing.
Curriculum Alignment
Alignment to Curriculum Frameworks
Note: All Lesson Plans in this series are aligned to the National Science Education Standards which were produced by the National Research Council and endorsed by the National Science Teachers Association, and if applicable, also to the International Technology Education Association’s Standards for Technological Literacy or the National Council of Teachers of Mathematics’ Principles and Standards for School Mathematics.
National Science Education Standards Grades 5-8 (ages 10 – 14)
CONTENT STANDARD B: Physical Science
As a result of their activities, all students should develop an understanding of
- Motions and forces
- Transfer of energy
National Science Education Standards Grades 9-12 (ages 14 – 18)
CONTENT STANDARD B: Physical Science
As a result of their activities, all students should develop understanding of
- Motions and forces
- Interactions of energy and matter
CONTENT STANDARD E: Science and Technology
As a result of activities, all students should develop
- Abilities of technological design
- Understandings about science and technology
Standards for Technological Literacy – All Ages
The Nature of Technology
- Standard 3: Students will develop an understanding of the relationships among technologies and the connections between technology and other fields of study.
Technology and Society
- Standard 7: Students will develop an understanding of the influence of technology on history.
Design
- Standard 9: Students will develop an understanding of engineering design.
- Standard 10: Students will develop an understanding of the role of troubleshooting, research and development, invention and innovation, and experimentation in problem solving.
Abilities for a Technological World
- Standard 11: Students will develop abilities to apply the design process.
The Designed World
- Standard 19: Students will develop an understanding of and be able to select and use manufacturing technologies.
Related Engineering Fields and Degrees
Student Worksheet
Did you use all the materials provided to you? Why, or why not?
Which item was most critical to your robot arm design?
How did working as a team of four help in the design process?
Were there any drawbacks to designing as a team?
What did you learn from the designs developed by other teams?
Name three industries that make use of robots in manufacturing:
Translations
Lesson Plan Translation


 Industrial Engineering